My favorite online editing site is ribbet.com. I used to use picnik.com until it was discontinued last year. I played around with a few other sites but wasn't fully satisfied with any of them. Then a reader recommended Ribbet. I was thrilled to find many of the familiar, user-friendly tools from Picnik on Ribbet. An added plus to this site is that right now, Ribbet premium is free. Ribbet premium gives you more editing options and allows you to store your latest 100 uploads on the site. I've found this to be extremely helpful whenever I work on a collage for one of my blog headers. I have plenty of photos to pick and choose from. :)
Ribbet has some excellent editing tools, including cropping and resizing options, color adjustment, and text. There are some wonderful templates for collages as well. I've found these to be extremely useful for making fun and unique blog headers, such as these ones:


All of these collages had effects and text added afterwards, but this at least gives you an idea of some of the different layouts you can use. I always enjoy coming up with fun and unique headers. :)
The only thing I would change about Ribbet is that there is not an option to save your edited pictures directly to Picasa Web albums, which was an option on Picnik. I store most of my pictures on Picasa since Blogger automatically stores pictures there. It's easiest to have all of my pictures in one place. I'm also involved in several doll forums which require an image URL for any image you want to add to their site. On Picnik, I could edit or resize my photo, save it directly to Picasa, and add it to the forums. Now, I have to save my edited picture to the computer, move it to Picasa, and add it to the forums. It's only one extra step, but it's enough of a hassle that I don't add nearly as many pictures to forums as I used to. They do at least have an option to save pictures directly to Flickr, so I suppose I could stop complaining and just start saving my edited pictures on my Flickr account. ;)
Enough of all that, though. Let's get down to the actual editing.
I'm sure you'll all be shocked to find out that I usually use a process of trial and error when editing my photos. (Note...that sentence is meant to be read in my sarcastic voice.) ;) Sigh...you guys are probably sick and tired of hearing the "trial and error" phrase after this series of posts...sorry! :} Most of the successfully edited photos I've ended up with have been either the result of a happy accident or the one awesome picture after countless disappointments. :}
I find that I tend to gravitate towards the same editing tools each time. I especially love the "soften", "vignette", "boost", and "sepia" effects and use them often. Ribbet has just recently added some fun new effects that I tried out this time, just for something new. :)
I thought the best way to do this post would be to show you some samples of pictures before and after they were edited and explain what effects I used. As always, if you have questions that aren't addressed in the post, feel free to comment below. :)
As I already mentioned in my first photography post, I recently did a photo shoot of Belle, Robby, and Emilie for Belle's Bulletins. I had a great time trying to make their pics look like something from a professional studio. Here are a few of my favorites:

I love the sweet look of this photo. It didn't need much.

Adding a simple vignette and using the "soften" effect gave it just the right touch.
Side note here: Getting the soften effect to work just right can be a bit of a challenge. The goal is to make the photo look slightly warm and dreamy, but not blurry. Play around with it a bit until you get the look you want.

For Robby and Belle's kissing pose, I decided I wanted a fun, vintage look.

Ribbet recently added an effect called "True Vintage". I would highly recommend trying this effect. There are a variety of options to make your picture look old-fashioned and unique. You can also adjust the lighting and the visibility of the "old photo" effect. This one was the first choice. I decided to add some text to the bottom corner...

...but in the end, I decided that I liked the photo best without any text.

Here's another cute photo of Robby and Belle together.

I'm a huge fan of black and white or sepia toned pictures, so I decided to go for a classic black and white look here. I also added a vignette and slightly softened the picture.

I really loved the artsy feel of this photo, but since I can't leave well enough alone...

...I decided to add a vignette. (Did I mention how much I like using "vignette"?) ;)

Here's another picture that had a very wedding-y feel. (I know "wedding-y" isn't really a word, but admit it...you know exactly what I mean.) ;)

To make it even more dreamy, I used the sepia effect but adjusted the fade so that there was still a hint of color. Then I added the "matte" effect (located just under vignette). It's basically a white vignette. :}

For this picture, I wanted to try something different. I noticed that there were some new effects named after places around the world.

As soon as I tried "Morocco" and adjusted the "Moroccan Sun" to the 70s, I knew I'd found just the right tone for the picture. :)

Here's another photo similar to something you might see in a wedding photo shoot.

Once again, we have a case of black and white with slight softening and a vignette. Like I said, I tend to go back to the same effects again and again. :}

I really loved this profile shot of the two of them.

For the edited picture, I decided to go for the "True Vintage" effect again. This time, though, I wanted to try a different vintage look. This one is the fifth option over on the bottom row. I added the word "Love" in the "All Used Up" font. I thought the rather faded look of the letters added to the vintage look. Oh, and...um...I added a vignette. Are you surprised? ;)

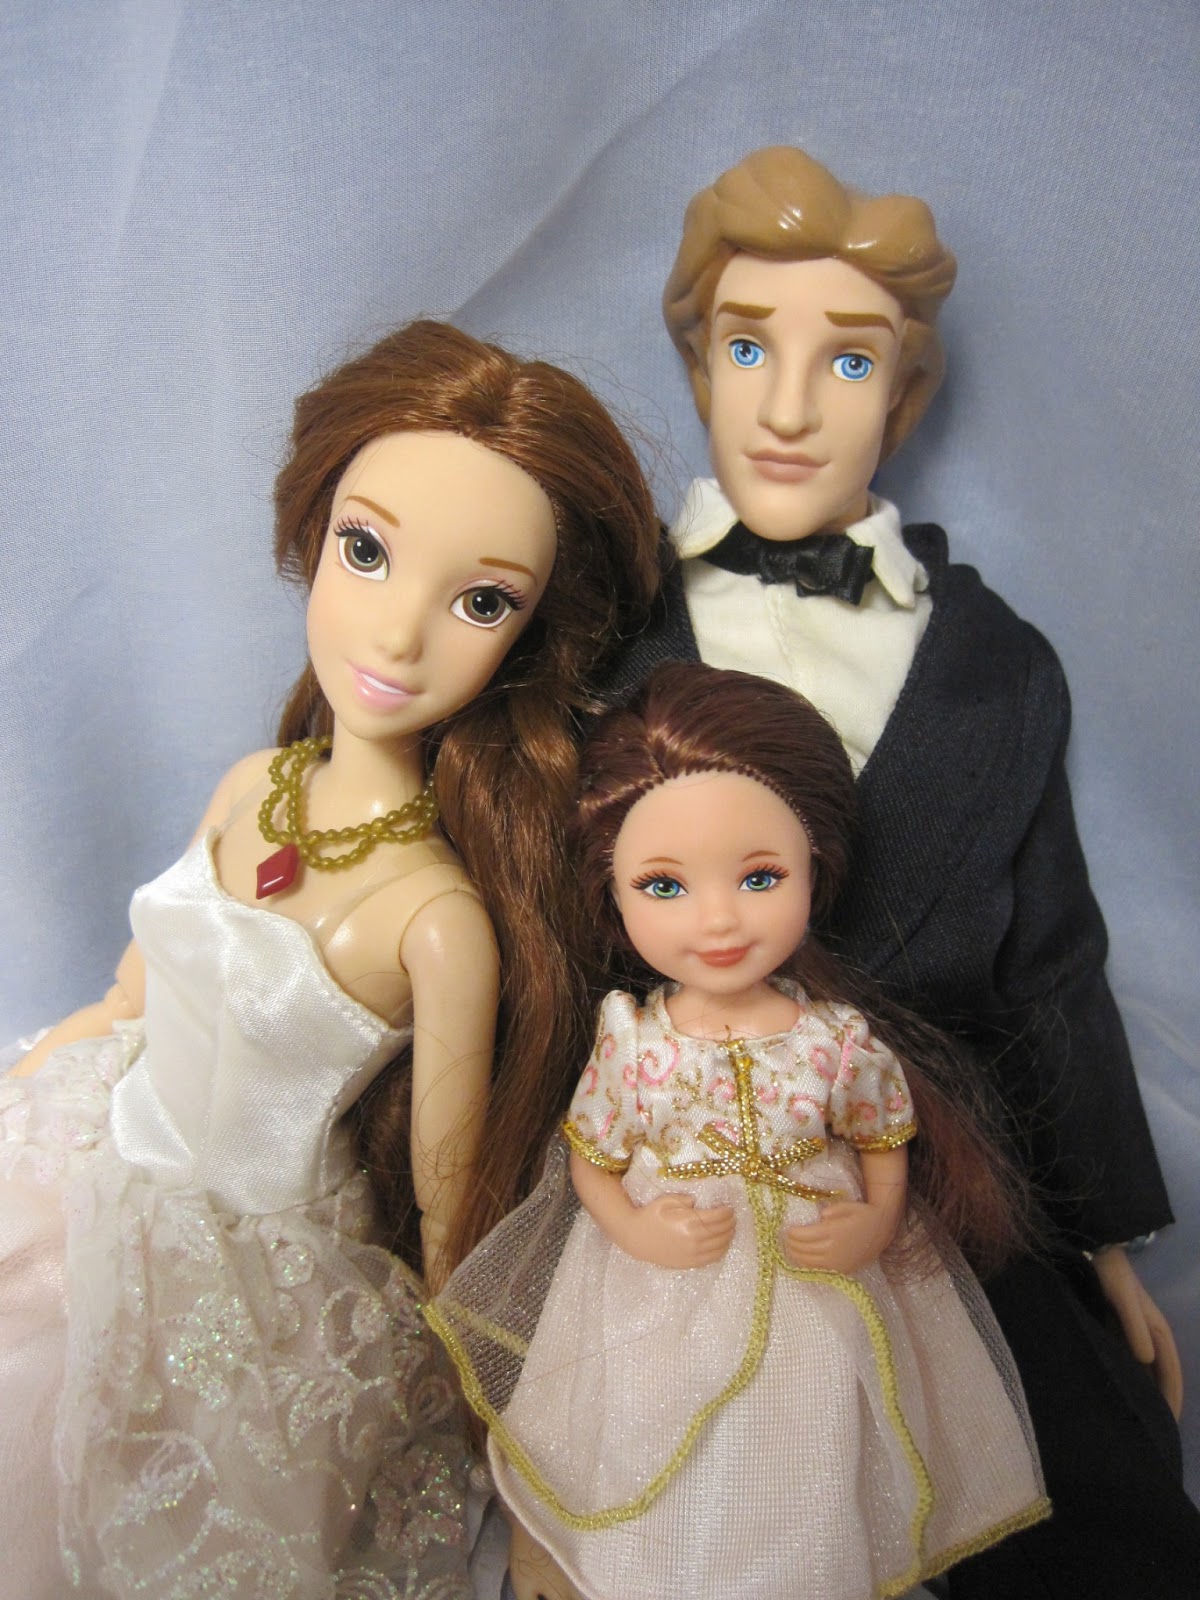
Here's a sweet family photo I took of the three dolls.

When I edited this picture, I decided I wanted to focus a little more on the faces. I cropped it so that just the three faces were showing, and then I added the black and white effect and...ahem...a vignette. Hey, you've gotta admit, the vignette just gives these pics a nice finishing touch! :)
And here's the last of the pictures I'll share from this photo shoot.

I decided to go for another sepia toned picture this time around and topped it off with a vignette. I think I could have gone with a more subtle vignette effect on this one, though. It's almost a little too much.
My other recent photo shoot was the one I did for the Doll Wardrobe's most recent photo contest. If you haven't made it over to see all of the great entries, you can see them HERE. Click HERE if you want more info on the contest. This is the last week of voting (the deadline was extended for one week), so we should find out the four finalists soon. I always love taking part in these contests because they challenge me to come up with new, creative ideas for my photography. :)

Here's one of the entries I submitted. Jenna looks lovely in this photo, but I felt the lighting needed a little help and that the whole thing could use a little "oomph".

I started out by using the "boost" effect. I had to fiddle with it a bit...at first the colors were WAY too brilliant. I think it was somewhere in the 20s when I was content with the look. To add a bit more, I gave it a very slight "soften" effect and added a small "vignette" (I think I adjusted the size to about 4) to give the edges of the photo more definition. I feel that these additions make it stand out a bit more than the original. I love the beautiful look of the light and the brilliance of the color. :)

I didn't end up using this photo for the contest, but I still love the way it turned out.

I decided that I wanted to have a black and white photo with just a splash of color. One of my readers mentioned that this picture reminded her of the well-known Kim Anderson photos. While Kim Anderson's photography wasn't necessarily in my head at the time I did this, that was definitely the type of look I was going for. To accomplish this, I used the "Focal B&W" effect. I adjusted the focal size so that it just surrounded the rose and nothing else. I then adjusted the fade so that there were still hints of color in the rest of the picture. The fade was around 24% when I reached the desired look. Then, surprise, surprise...I added a vignette and softened the photo. ;)

This picture and the next one were also not used for the contest. It was still fun playing around with them, though. :)
.jpg)
I think I used the boost, soften, and vignette for this one.

For this picture, I decided to mute the colors instead...

...so I used the "sepia" effect...with soften and vignette. Wow, I'm in quite a rut, aren't I? ;)

I was super pleased with the way this sweet Snow White-esque picture of Tess turned out.

I was even more thrilled with it when I added "boost", "soften", and a very very slight "vignette". See how the color just pops compared to the original?

I took soooo many pictures of Maggie with the Narnia theme. I still wasn't 100% happy with the finished product. It wasn't quite as awesome as the picture I'd had in my mind. ;) Still, it's not the worst I've ever done, and at least I got to do a Narnia themed picture. :)

This is rather embarrassing, but I can't remember which effect I used to change the color on this one. I don't think it was "boost", but it might have been. I was looking for a slightly vintage, slightly dreamy look with this one. And of course, no Beast'sbelle picture is complete without a vignette. ;)

This was one of the other versions in the running, but I didn't end up using it because I decided I wanted Maggie and her book to be in focus rather than the lion figurine. I adjusted the color using...one of the color adjusting effects that I can't exactly remember. ;) I also used the "matte" effect again, but this time I adjusted the color so that the matte was green instead of white.

And last but not least is another picture of my sweet little Tess.

I went for another Kim Anderson type effect with this one. This time around, though, I didn't fade the color at all. I kept the rest of the picture plain black and white.
I know that wasn't the most extensive or informative post on editing photos, but hopefully, just like the other posts, it gave you some ideas and inspired you to discover your own favorite editing tools. There's so much more to ribbet.com than I mentioned here. I've barely scratched the surface myself. (Perhaps if I would get off my vignette kick, I might discover some of the other joys of the site.) ;)
So here's your challenge: go do some editing! Don't be afraid to try things that might not work. Just like everything else we've discussed in this series, you never know what you might discover through your experimentation. :)
I hope you've all enjoyed this series of posts. It's been fun sharing a few "tricks of the trade", such as they are. I've enjoyed the feedback I've gotten from so many of you, and I'm thrilled that these posts have been helpful to some of you.
Have a great week, everyone! Be back soon. :)


