I'm finally getting around to my tutorial for my Disney Princess and Me Rapunzel's braid. Sorry it took me so long to get to this post! :{

To do this braid, you'll need a wire doll or wig brush, a doll-sized spray bottle (I really like the American Girl one pictured here...it gives out just the right amount of spray), and some hair rubber bands. I picked these ones up at Dollar Tree. However, I've found that these bands are sometimes better quality if you pay a little more for them. It depends on the batch, too. Some of my Dollar Tree ones work great, while the ones I purchased recently tend to break easily and only last for a week or so. :(

Here's a before picture of Rapunzel's hair, right after I'd gotten it as detangled as I could.

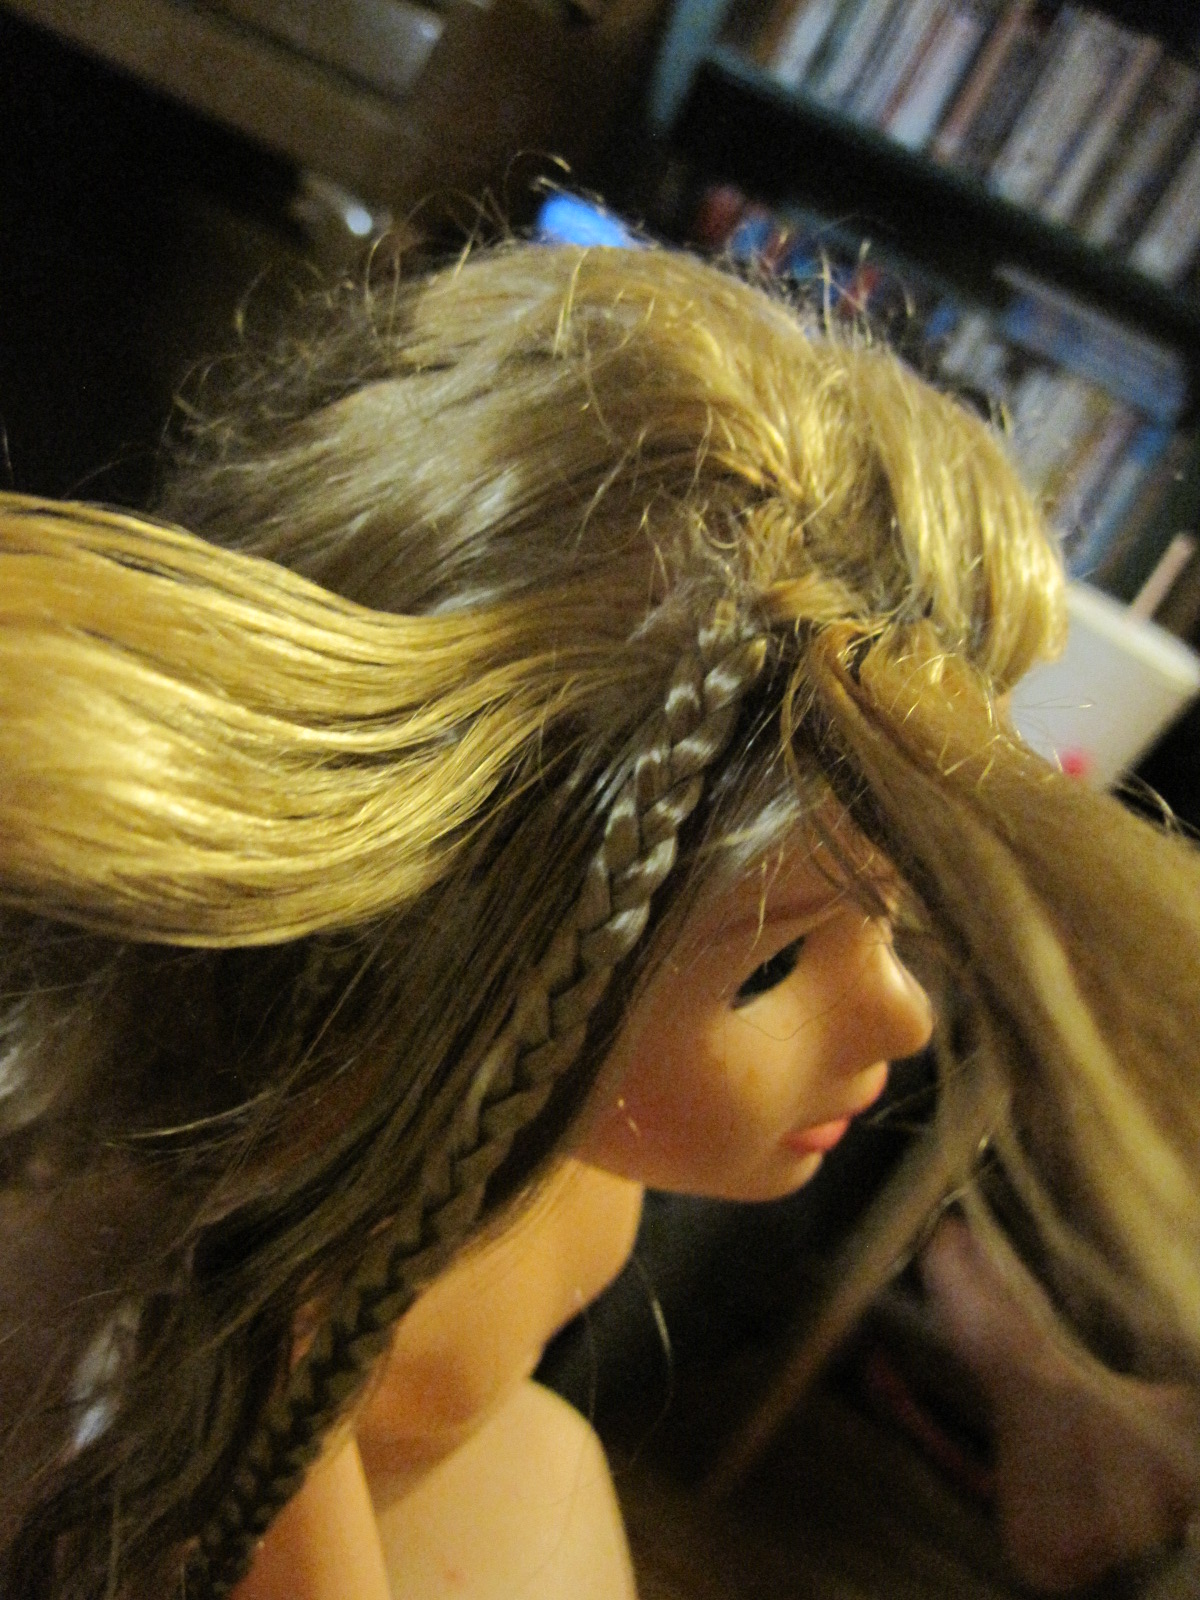
I took a couple of pictures to show her one dark strand of hair. Not entirely movie accurate; in the movie it was shorter than the rest of her hair. But whatever. Moving on. ;)

A side view of her dark strand.
After all the time I'd spent working on her hair, I wanted it to stay nice (and pretty much NEVER wanted to have to brush through it to that extent again!!), so I decided to braid it. I wanted it to be a special braid, though. I was hoping I could get it to look as close to the movie version as possible.

After searching Google images for pictures of Rapunzel's braid and getting a feel for what it looked like in the movie, I found some pictures of humans and Rapunzel dolls with braids like the one in the film. After I saw the above picture, I had my inspiration and got started. (You can see the original site this picture was taken from HERE.)

I started by separating the left side of Rapunzel's hair. I wanted to leave some hair in the front for her swoopy, side-bang look, so I started with that. Then I took a smallish section from behind the front hair...

...and braided it into a small, tight braid. (Here's where the brush and spray bottle came in. Too keep things as untangled as possible, I spritzed her hair lightly and then brushed it before braiding, and repeated this process throughout this entire hairstyle. )

I braided it down as far as I could and secured it with a rubber band.

Then I turned Rapunzel around and did the same thing on her right side, trying to get the braid on this side as close to the same spot as the previous one as I could.

Just like I did with the first braid, I made this one small and tight. I braided it as far as I could and secured it with a rubber band.

I knew that I wanted one more small braid on each side of her head, so I gathered a small section of hair just a little farther down from the first braid, about in line with Rapunzel's ear.

As before, I braided it as far down as it would go and then secured it with another rubber band.

I then repeated this step on the other side. (I think this second braid ended up a little higher than the other side!) :}

This next part took some trial and error, but I finally figured out how to get the look I wanted. ;) Starting on one side of her head, I took three sections of hair from the front so that I could do a bigger, thicker braid.
I included the top tiny braid in these sections, always making sure to keep it in view as I braided the hair.

The end result looked like this. You'll notice that I kept the second tiny braid behind the thick, side braid. I'd use that later.

I continued the thick side braid until I couldn't go any farther, and then secured it with a rubber band.
Then I repeated this step on the second side of her head (the small braid in this picture is the one I included in the thick braid...the one that would hang loose is behind her hair and not visible in this picture).

And here's the finished braid on the second side.

Next, I took a large section of hair from the back of her head and pulled it behind her, keeping both the thick braid and the tiny braid in the back.

Here's another picture for clarity.

I did the same thing on the other side as well.

When I was happy with the amount of hair I had, I twisted it ever so slightly...

...and attached a rubber band.

This is how it looked. And now, I was ready for the main braid. I divided the hair into three sections, keeping the thick braids on the two outside strands of hair. I did NOT include the small braids in this big main braid.

From there I braided, once again trying to keep the thick braids as visible as possible in the main braid.

When I had braided as far as I could, I secured the (slightly crooked) braid with a rubber band. :}

As a finishing touch, I took the two leftover tiny braids and wrapped them around the main braid in a criss-cross fashion.

And here's what it looked like when I was done!


To dress it up even more, I added these fake flowers to her braid. I found these on a bouquet at Goodwill, as I mentioned in my earlier post.

I think it adds the perfect touch. :)


I hope this tutorial was understandable. Sometimes it's hard to explain how you did something after the fact. :} Feel free to comment if I wasn't clear enough on some parts or if you have any further questions. If you try this on some of your dolls, I'd love to hear about it! :) You could even email me a picture at nevergrowup.beastsbelle@gmail.com! :)
To see my original Rapunzel review, you can click HERE.
11 comments:
looks like it was a lot of work.. but well worth it.. it is so pretty. and very easy to understand.
Thanks for the feedback, Kath. :) I'm glad it was understandable.
This is absolutely stunning! I am going to try it on one of my Ellowyne Wilde dolls - their hair is also very long!
Thanks, Char. :) I'd love to hear how it works on Ellowyne's hair. :)
Hi beastbelle it's Elijah
Can u show us any other tutorials for hair
God Bless
Sincerely
Elijah
Hi Elijah. :) I'd love to do some more hair tutorials in the future. I can't promise that it will be anytime soon (I've got a lot of other posts in the works that I need to finish first!), but I'll see what I can do. ;)
Thanks for posting this- I found it after buying my daughter the Disney toddler Rapunzel doll. It turned out pretty cute (not as neat as yours!) and my little girl was pretty excited.
Hi kleivic, so glad I could help! :) I'm sure your daughter was thrilled with her Rapunzel's pretty hair. :)
Fabulous tutorial! So easy to follow. Did this with my daughter's Animator collection toddler Rapunzel and it's not quite like above because the doll size is different as is the hair length but it's adorable! So much easier than the finished product makes it seem! Thank you!
Hi Sass! Thanks for stopping by. :) So glad this tutorial worked for you. :) I had a lot of fun trying to recreate the look of Rapunzel's braid from the movie. Braids are great for keeping all that hair fairly untangled when our little ones play with their Rapunzel dolls, too! ;)
She looks amazing! I have one Rapunzel doll (I think is the same you have because of the clothes) that I bought second hand but unfortunatelly her hair wasn't that long, although I braided her hair using your tutorial and she looks good.
Post a Comment