Several weeks ago, one of my readers drew my attention to a great blogger and YouTuber: My Froggy Stuff. You can find her blog HERE and her YouTube channel HERE. I had so much fun reading her posts and watching her videos that it instantly inspired me to try some of her projects! My daughters and I had a great time crafting together. :)
Here are a few of the things that I made for my collection:

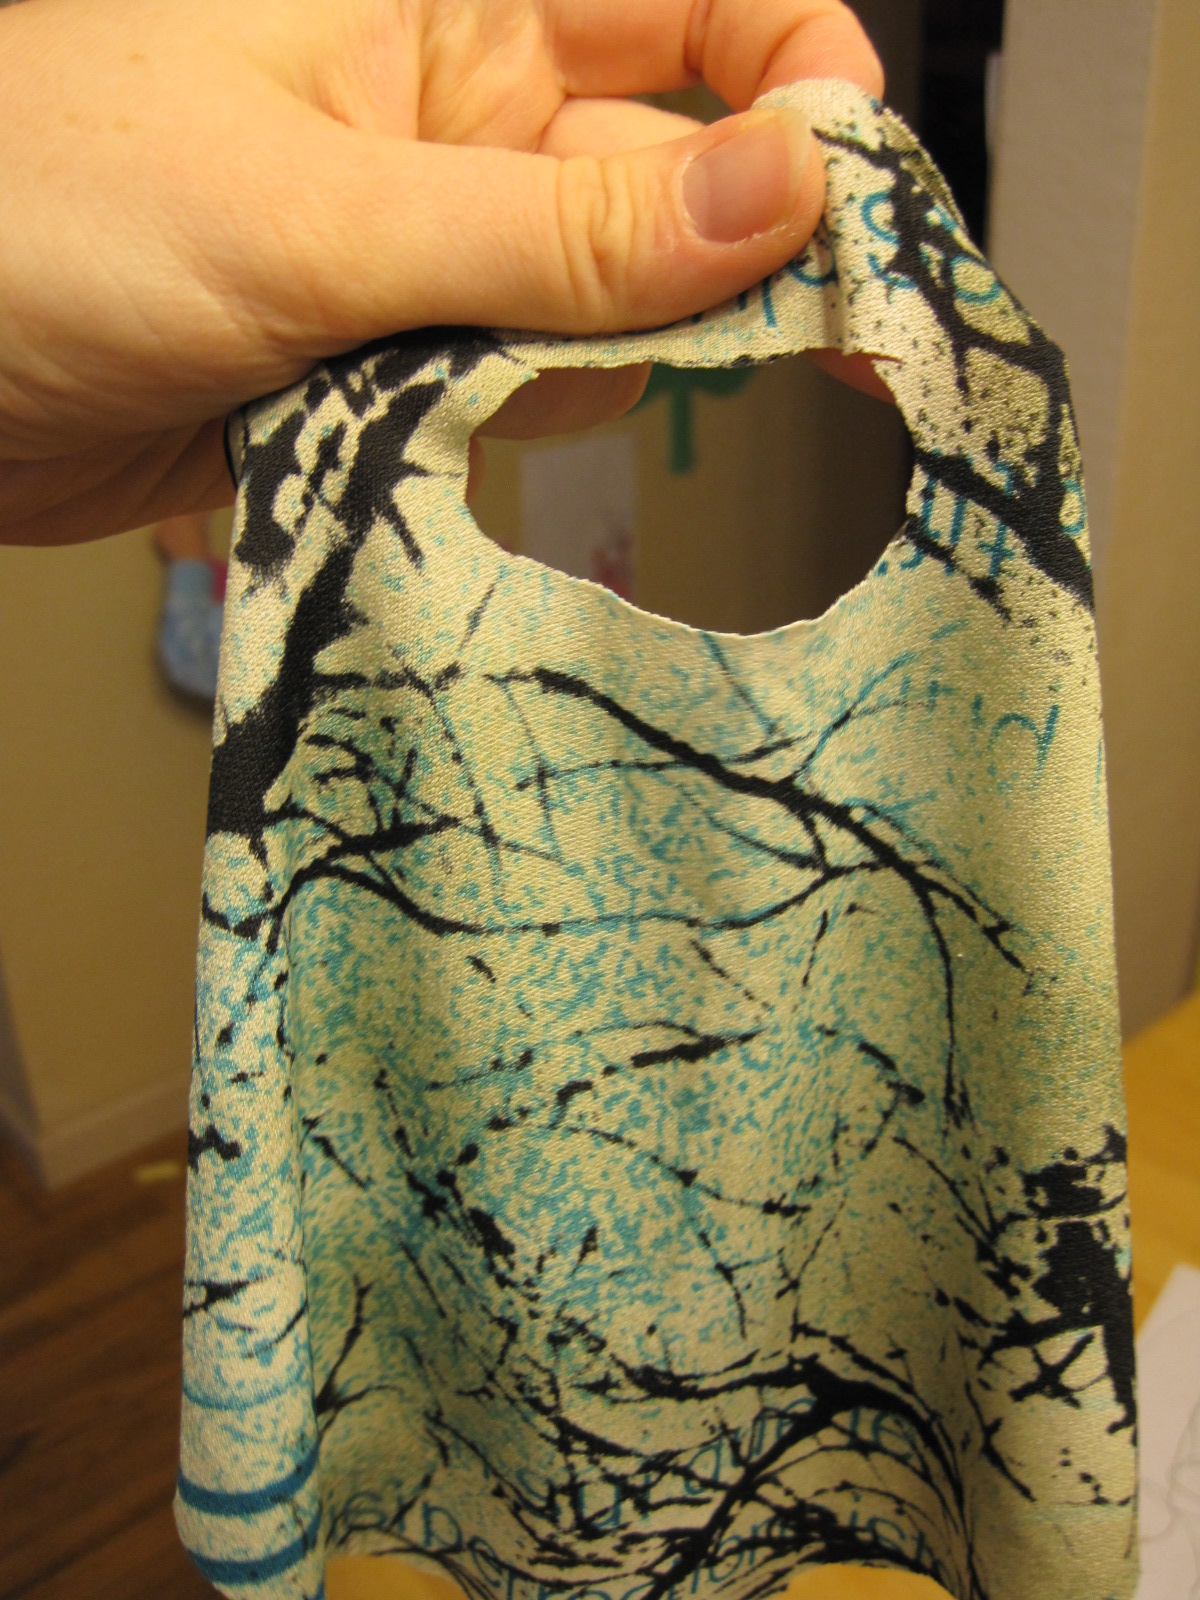
No sew dress/shirt (you can view My Froggy Stuff's tutorial HERE), plus my own creation on Kaitlin 1 (in the orange). You'll notice that these pics were taken before I decided to rewig Kaitlin 2. ;)

This dress was one of my favorites. It's so lovely and flowy.

Plus, it looks great with Kaitlin 2's green eyes. :)

I used material from an old shirt I'd outgrown.

The two Kaitlins together. :)


Kaitlin 1's dress was made out of one of the sleeves from another shirt I'd outgrown. I cut arm holes in the material just underneath the end of the sleeve, and used the natural hem of the sleeve as a sort of loose collar.

I cut another strip of material from another part of the shirt to use as a belt.


Britt's shirt was the very first one I made. It was actually supposed to be a dress too, but I miscalculated the size of the material circle I needed. ;)

Britt's necklace is a child's bracelet we got as a hand-me-down. It looks great with her blue eyes! :)

I also cut a thick strip of material to use as a kind of headband/scarf type thingee. :)
Once I'd gotten a few of these under my belt, the madness began! :) I wondered how some of the dresses would work for Elena, my Karito Kids doll (FKA Pita).

I found that she could wear the dress I made for Kaitlin 1...she just didn't need the belt.


Then, with the other sleeve, I made a shirt that looked a lot like the dress. Too bad I'm horrible at cutting straight lines! (Don't look too closely at the bottom of the shirt!)

The back of the shirt ended up looking a little funny with the seam off-centered. Oh well...I think it still works from the front, at least! :)

Next, I tried my hand at some American Girl styles. Jenna, my little trendy gal, was happy to model for me. ;) This first outfit was also supposed to be a dress, but it ended up just a little short. Good thing leggings are so in style right now! :)


Next, I tried a shirt...
...and then I decided to try my hand at a halter top. I cut a large hole in one side of the circle of material...

...and put Jenna's head through it.

Then I twisted the two sides to give it a little more of an elegant look.

I'm not really a fan of halter tops myself, but it was fun to experiment! :)

My last AG sized project was this outfit. Those of you who read Tess and Maggie's blog will recognize this outfit from THIS post. :)

Once again, a little short for a dress, but a little long for a shirt. Oh well. I suppose it works. ;)

After seeing Mommy hard at work like a mad scientist in his lair, Little Gal got interested and requested a dress for Rahel. Here's what I came up with.

Not too shabby, if I do say so myself! ;)
There were lots of other great craft ideas from My Froggy Stuff. After an afternoon of crafting with the girls, I decided to make a doll bed and shelf for my BFC Ink dolls, just for fun. Here are the results:

Doll bed (you can view My Froggy Stuff's tutorial HERE) and shelf (I basically drew inspiration for this from THIS video).

I used a really fun Bath and Body Works box from my online order for the insides of the shelves and for the headboard of the bed. I used some black duct tape for the outsides. By the way, don't look to closely at the shelf...it's horribly crooked! I didn't exactly...uh...measure before I cut and put it together. :}

Here's a closer look at the bed. I didn't have cereal boxes on hand, so I used part of an orange box instead. I also used a nice, thick box for the headboard.

Side view

A close-up of the headboard.
Another fun tutorial My Froggy Stuff had was her "Room in a Box" for Barbie-sized dolls. I thought it would be fun to try making one for Belle.

Room in a Box for Belle, including a bed and dresser. Click HERE to see the bed tutorial and HERE to see my inspiration for the dresser and for the room in a box idea.


The dresser. It took me FOREVER to get those strips of zebra print duct tape cut straight and attached to the dresser! That stuff is really sticky!

I love how the bed turned out! It's really cute and so easy to make! :)

I'm still working on wall decorations. I thought this would make a really cute little bulletin board.

I'd like to get one of Belle and Robby's nice outdoor pictures and use this paper as a mat behind it.

I made this picture frame out of some packaging from a bead set.

Belle is super comfy in her new room! :)

I've found that the tiny proofs that come with my printed Costco photos make the perfect sizes photos for Belle and friends! :)
I hope you enjoyed this post!! If you did, I'd encourage you to go check out My Froggy Stuff's blog and YouTube and start some crafting adventures of your own! :D


