It's been a while since I've attempted any major doll projects. Between my writing, my schedule, and my finances, I've spent more time focusing on slowly adding to my collection or enjoying the dolls I already have. However, things are not quite as tight financially since Hubby's change in job positions, and I was feeling adventurous this week. ;)
Some of you may remember my mention of the beautiful Barbie Candy Princess doll (I think that's her name...she's not labeled on her box, and the title varies depending on the website). I saw her on the girls' birthday trip, and decided I'd love to get her sometime and swap her to a "Made to Move" Barbie body.
Well, that idea stuck with me, but even though I'd found several of the Candy Princess dolls around, I was never 100% pleased with their faces. They were either too severe-looking, or the eyes were uneven...you get the idea. I wanted my doll to be just right, especially if I was going to purchase her new.
(Before I proceed, I feel I should mention that there will be photos of naked Barbies in this post. It's hard enough doing a head swap without worrying about keeping them clothed. You've been warned.) ;)

Then, this past week at Target, I finally found a princess doll with a face that met my approval. I decided to bite the bullet and buy both dolls so I could perform a swap. :)

Here's a look at "Candy Princess" in her box.

Such a sweet face! :D

The back of her box. This fairytale line has three sets of three dolls, each set containing a mermaid, a princess, and a fairy. The three themes are candy, jewels, and rainbows. It fits right in with my 80s childhood. ;)


Here is Made to Move Lea. As I took the photos for this post, it reminded me that I have a ton of photos for a detailed Made to Move review in my draft posts somewhere. In fact, I've got several "in progress" reviews that will hopefully make an appearance this summer when the girls and I have more free time together. ;)

Lea's pretty face.

The back of the box. (I didn't go into as much detail here because I'll share more info in my later review.)

Here is the Candy Princess out of her box. (Sorry this one's a bit blurry. I didn't realize it until I'd already decapitated her.) :}

I love the coloring on this doll. :)


Candy Princess has minimal articulation (just at the head, shoulders, and hips) and a plastic, molded-on bodice.

Her cloth, glitter-encrusted skirt is removable.

A closer look at her bodice. While I don't care for molded-on clothing as a collector, I do think the candy motifs on this one are kind of cute. And these dolls are definitely a great solution for moms who are opposed to naked Barbies. They're always dressed. ;)

Lea out of the box.

A closer look at her sweet face.

I already have a Made to Move Lea, and actually considered swapping her head instead, especially since I accidentally cut a small tuft of hair at the back of her head when I was trying to remove those irritating plastic ties Mattel loves.

However, when I compared their faces, I decided I preferred the face of my older doll (pictured on the right). It's slightly rounder and has a softer look.

So, Candy Princess and New Lea agreed to swap.
It's been a while since I've done a head swap, and usually I work with used three-dollar dolls from Goodwill for such projects. As you can imagine, I was a little nervous. Head swapping can have disastrous results. And I was having trouble getting Lea's head off.
Because of this, I took a little break and did some research. I found THIS online article to be incredibly helpful.
Sometime, I'd love to try the heating pad method they suggested, but this time, all I had was a hair dryer.
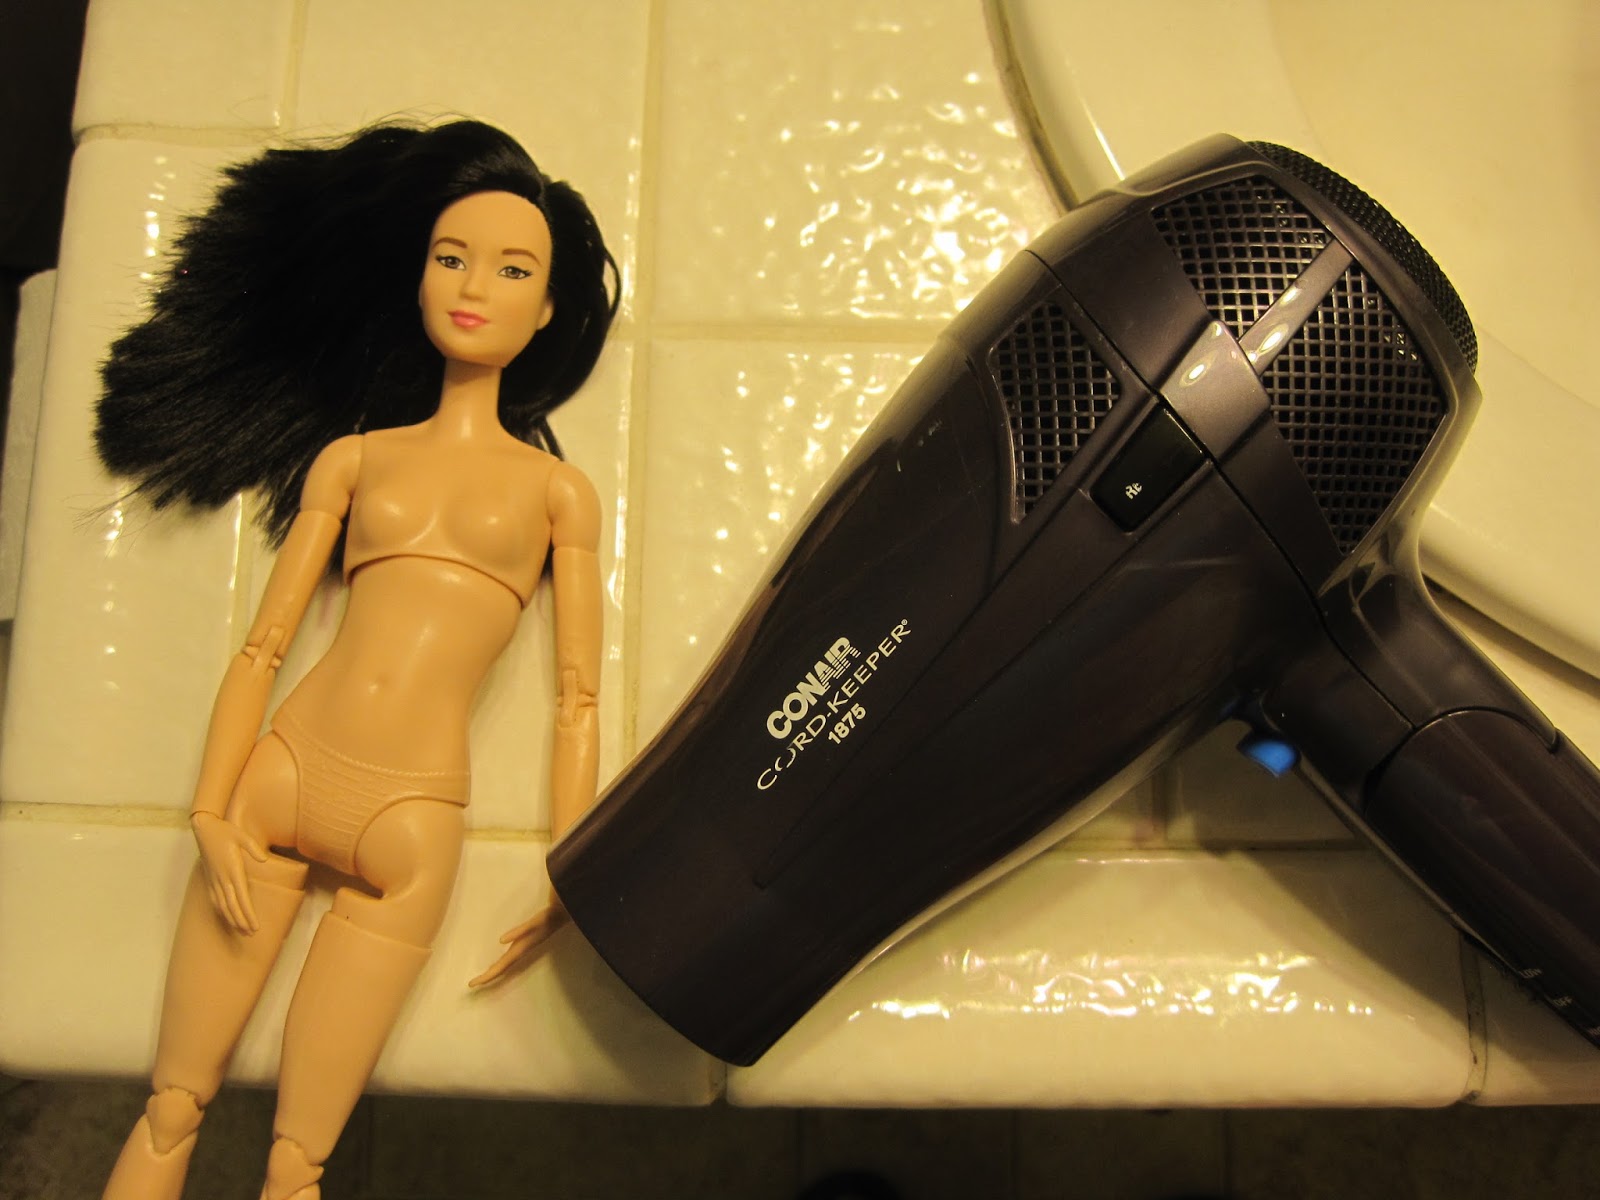
Convinced that I was on the right track, I continued my hair dryer method.

This did not do great things for Lea's hair, but it got rid of the lines from her ponytail. ;)

After about ten minutes of using the dryer, working with the head, and using the dryer again, I was finally able to remove it.

The biggest challenge of this sort of project is removing the head without damaging the knob that holds it or cracking the neck. The neck glue started to turn shiny as I used the hair dryer, which made me nervous, but thankfully the neck didn't break. It's hard to see from this photo, but I did definitely strain the head knob inside the neck. It's really hard to get the head off without twisting the knob inside too far, which can lead to breakage. The fact that I was working with a brand new doll made it a lot more stressful.
Another thing I noticed this time was that the hair dryer must have melted some of the glue inside the head (used to hold the hair in place). The knob inside the head was sticky when I finally got the head removed.
And here it is:


Now it was time to move on to the Candy Princess head.

I tried wrapping her head in a hand towel to give it better protection from the heat of the dryer (as suggested in the above article).

I made better time getting this head off, but I twisted the knob a little too much.

You can especially see it here. It didn't break, but I definitely weakened it.
And here's Candy Princess' head:

The hard part was over now. It was much easier to get the heads ON to their new bodies than it had been to get them OFF.


And here they are, all swapped! :)

Poor Lea's hair was still pretty crazy from the blow dryer...

...so I decided to put it back in a low side ponytail. Much better! :)

Here she is in her pink tiara.

And here is my beautiful new custom Made to Move Barbie! :D For some reason, the name Teagan seemed to fit her. I think I'll stick with that name. :)
If you look closely at some of the photos, you'll notice that her head and her body are not quite a match in skin tone. It's a little more noticeable in real life than in photos. Still, I think it's close enough that it's not going to bug me. Oldest Gal suggested that Teagan just put on some pale face makeup. ;)
I had a lot of fun posing her for an impromptu photo shoot:


This face mold is quickly becoming my new favorite. :) I've decided that these three are going to be sisters. It's my pleasure to introduce the Peony sisters: (Left to right) Tori (Curvy Fashionista "Sweetheart Stripes"), Teal (Tall Fashionista "Terrific Teal"), and Teagan (Made to Move Lea with Candy Princess Barbie's head).

Sisters :)

I especially love these two together.

And I also wanted to get a picture of Teagan with my Made to Move Barbie with the same face mold. I'm thinking they might be cousins. :)
I already linked these, but I figured I'd do it a little more obviously down here. You can get your own Barbie Candy Princess/Barbie Princess Candy Fashion doll/whatever they want to call her HERE, and you can purchase your own Made to Move Barbie like mine HERE.
So, final thoughts on head swaps? I don't think I want to make a habit of them. (Of course, if I did them more often, I'd probably get better at them.) ;) I definitely wouldn't want to do them for someone else. The possibility of breakage is just too high for me to risk it. I also confirmed that I prefer swapping head of dolls I've found at Goodwill. It's a lot less stressful! And I think the next time I do this, I'd like to try the heating pad method to see if it's any more effective, as I mentioned earlier.
Still, I don't regret this swap. I love Teagan's sweet face and unique coloring and am glad to have her on a fun, posable body instead of that stiff, glittery one. :) I'm thinking Teagan may have a thing for travel. Maybe she can come along on my next vacation. ;)
I hope you all enjoyed this post. Have any of you tried a head swap? Do you have any favorite tips or tricks? I'd love to see some of your swap or other customization successes. Feel free to leave a link in the comments to your own dolly projects. :)
More posts to come next week! :)
